Overview
Automation is a game wherein players design and manage their own cars and car companies. Its car design process consists of a base car body, essentially a blank slate onto which exterior fixtures like lights and grilles are placed. This body, although confined to a general layout (such as a sedan or wagon), may have areas of it manipulated by the player to change its shape and proportions, a feature referred to as "morphing" the body.
My first attempt at an Automation mod was a Le Mans Prototype-style body that took around 3 weeks to complete. It was released onto the Steam Workshop in late 2019. At that time, low-slung race cars such as Le Mans Prototypes were beyond the limits of the game's car design tools, and having to model around the non-moddable chassis mesh resulted in the body's chunky proportions. After honing my skills with a few more mod bodies that were decidedly less experimental in nature, my original LMP body had aged like milk in comparison, so I finally decided on a total remake around a year later in late 2020.
Compared to the old version, the difference in proportions is as clear as day, and elements like the fender curves and protruding nose were removed from the base shape and reintroduced as morphs for greater flexibility.
Steam Workshop link
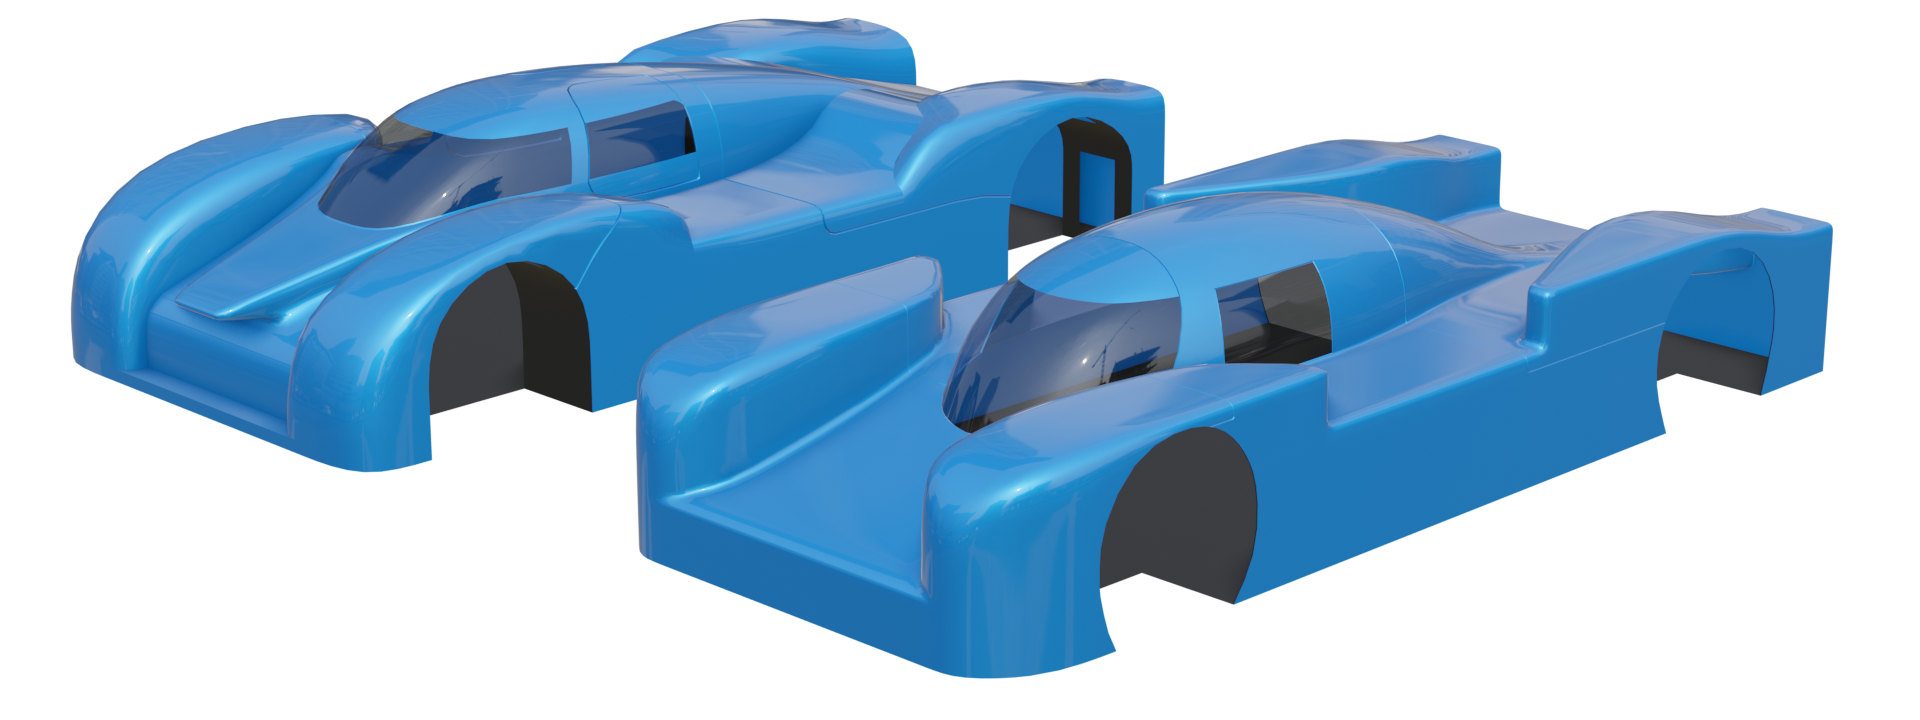
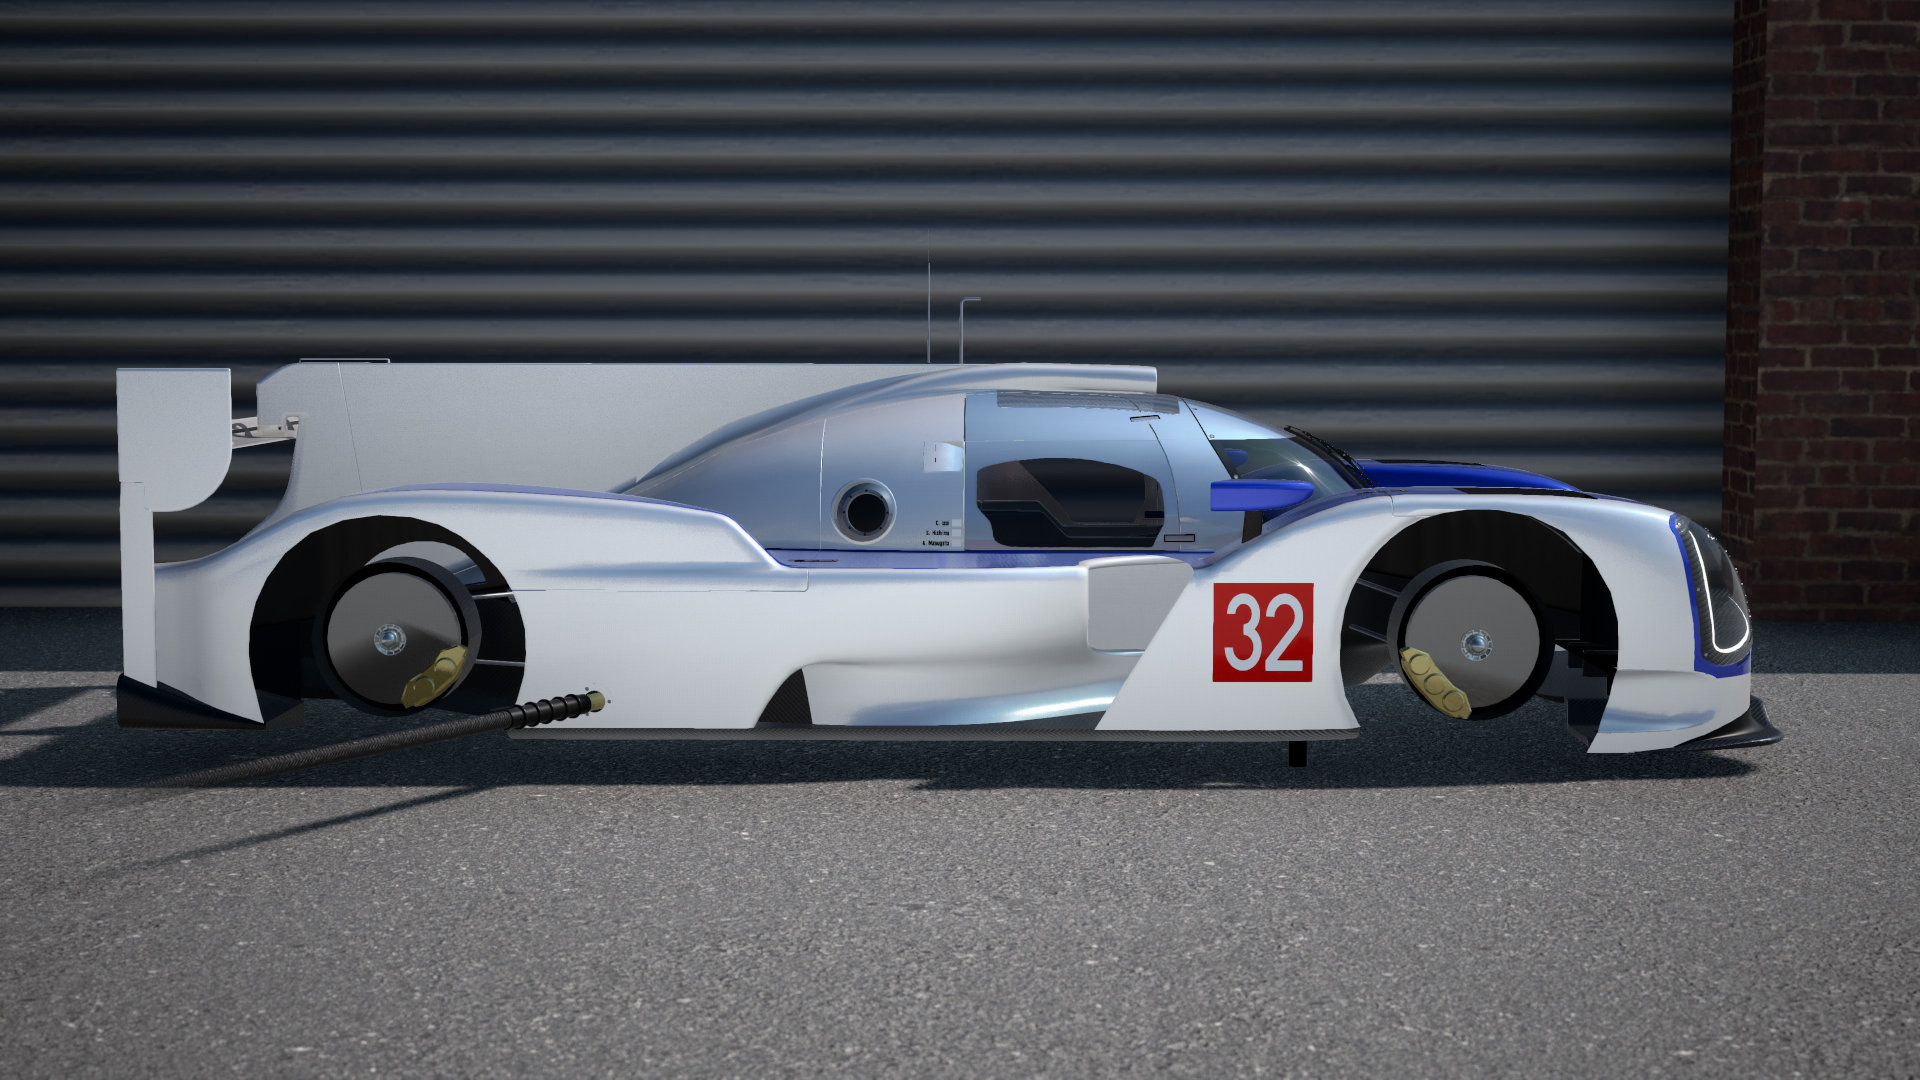
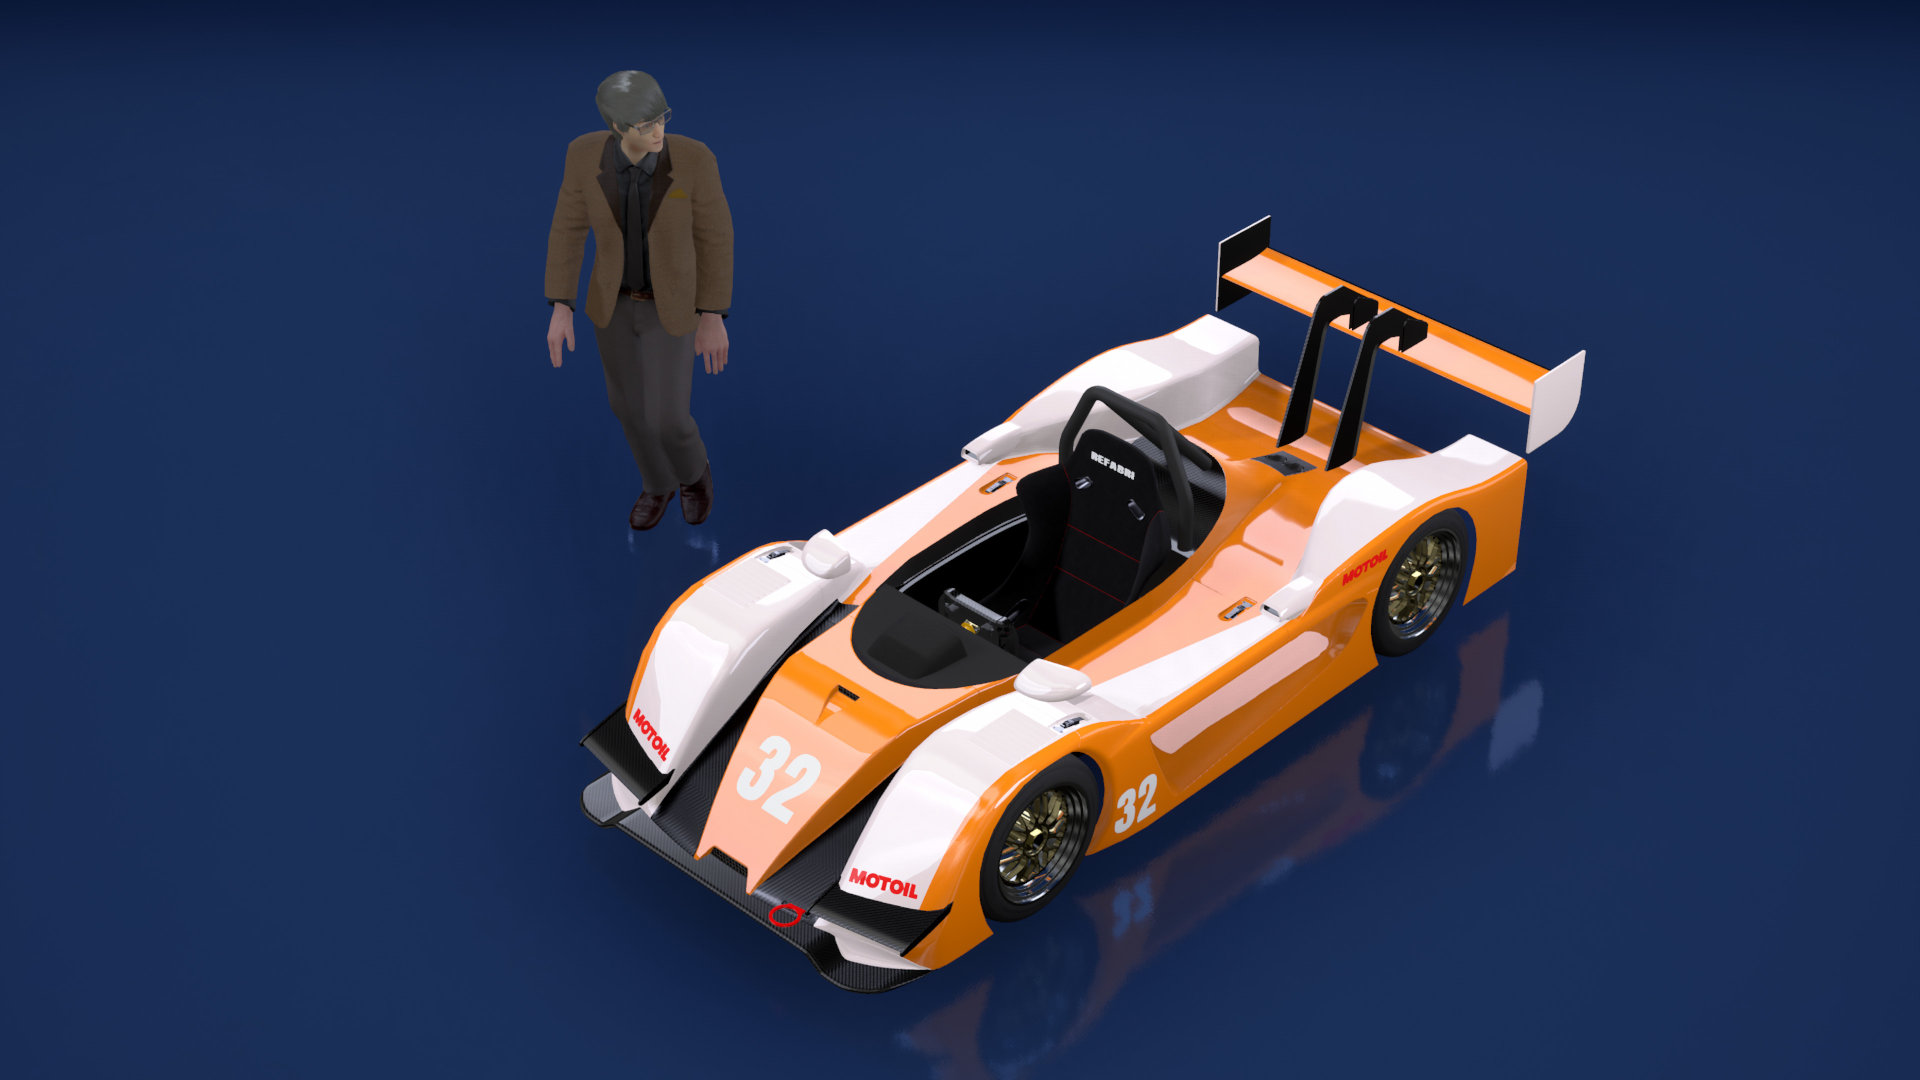
Comparison between old "Prototype" body (background / left) and new "Prototype II" body (foreground / right)
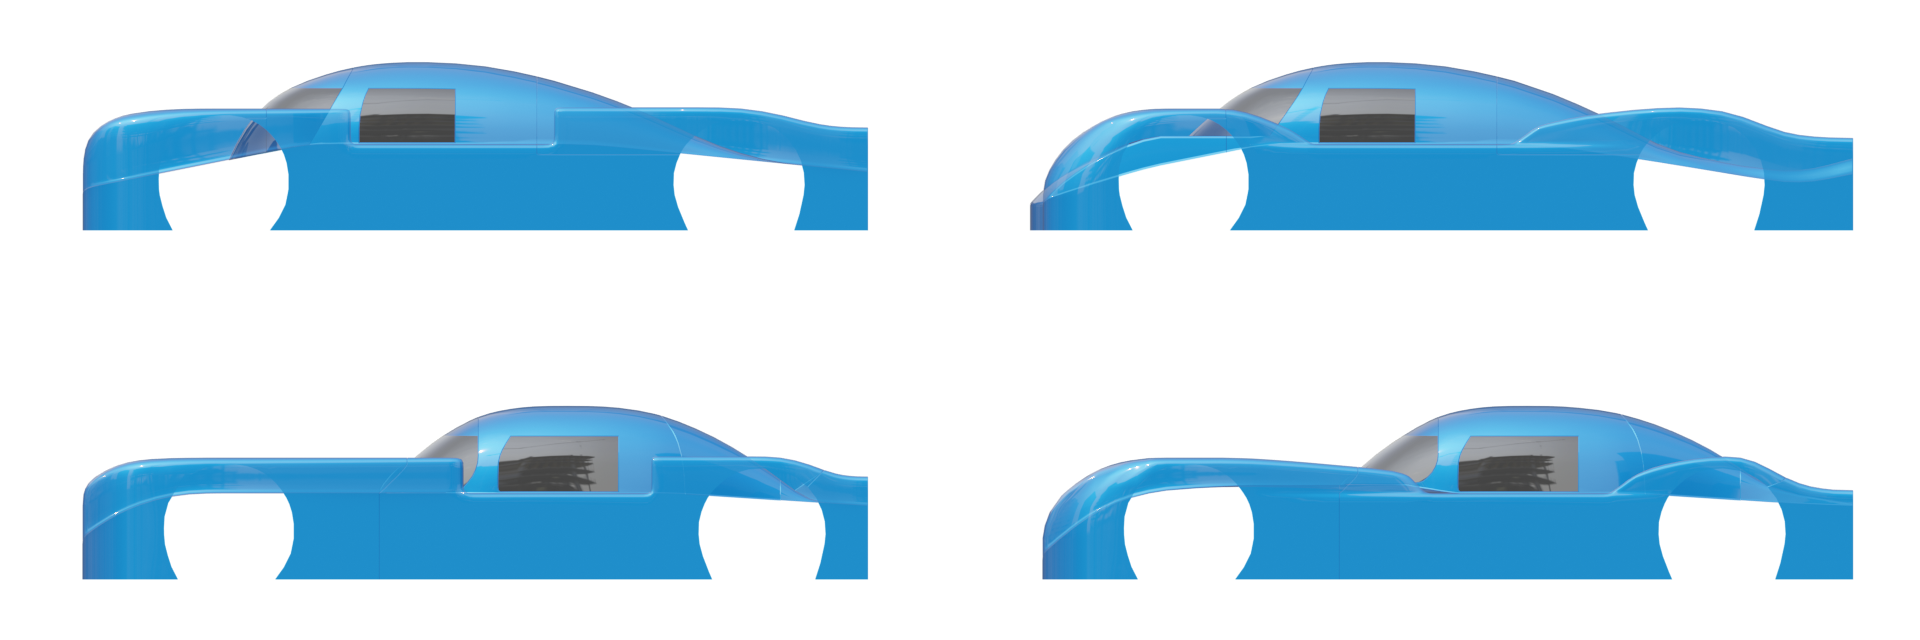
Mid-engine and front-engine body variants, with (right) and without (left) some morphs active
Concept
To meet the evolving standards of both Automation itself and its playerbase, I needed to plan ahead in terms of what morphs the new body should have. Generally speaking, vanilla-quality car bodies have the following morphs to maximize versatility:
- Front and rear overhangs, to adjust longitudinal footprint, cargo volume, and/or aerodynamics
- Front and rear fender flares, to fit wider wheels than would normally be allowed or just as a styling feature
- Cabin pillar adjustments
- Hood and trunk shape adjustments, to make a car look sleeker or more hard-edged
- Front and rear bumper extensions, for car bodies modern enough to have bumpers integrated with the bodywork
This being a dedicated race car body, there's no hood or trunk to worry about, but there is a nose and a tail, as well as the pronounced cockpit and fenders that are present on nearly every 21st-century sports prototype (not just in Le Mans). Additionally, the real-world car I used as a base changed from the 2011 Audi R18 TDI Ultra to the 2016 Porsche 919 Hybrid due to the latter having proportions similar to those of competitors, such as that year's Audi R18 and Toyota TS050 Hybrid.
Rigging
From a technical perspective, a car body in Automation takes the form of a skeletal mesh that is rigged to a 'skeleton' made of virtual 'bones'. These bones allow parts of the mesh to move independently from each other. Morph targets are also used for morphs, though as the performance penalty they incur is not insignificant, they are usually restricted to morphs that are impossible with bones (such as uniformly scaling wheel arches).
Automation's application of skeletal meshes towards morphable car bodies is unique, not only because bones are used exclusively for translation and not rotation, but also because vertices are never fully mapped, or "weighted", to a morph like they would be with more conventional skeletal mesh use cases (e.g. a character's limbs). This partial weighting approach allows for multiple morphs to affect one area of the body, but results in a significant loss in weight precision in the context of Unreal Engine 4. Therefore, care must be taken to not make the car body mesh too polygon-dense, and not just for the typical reason of "fewer polygons = easier render".
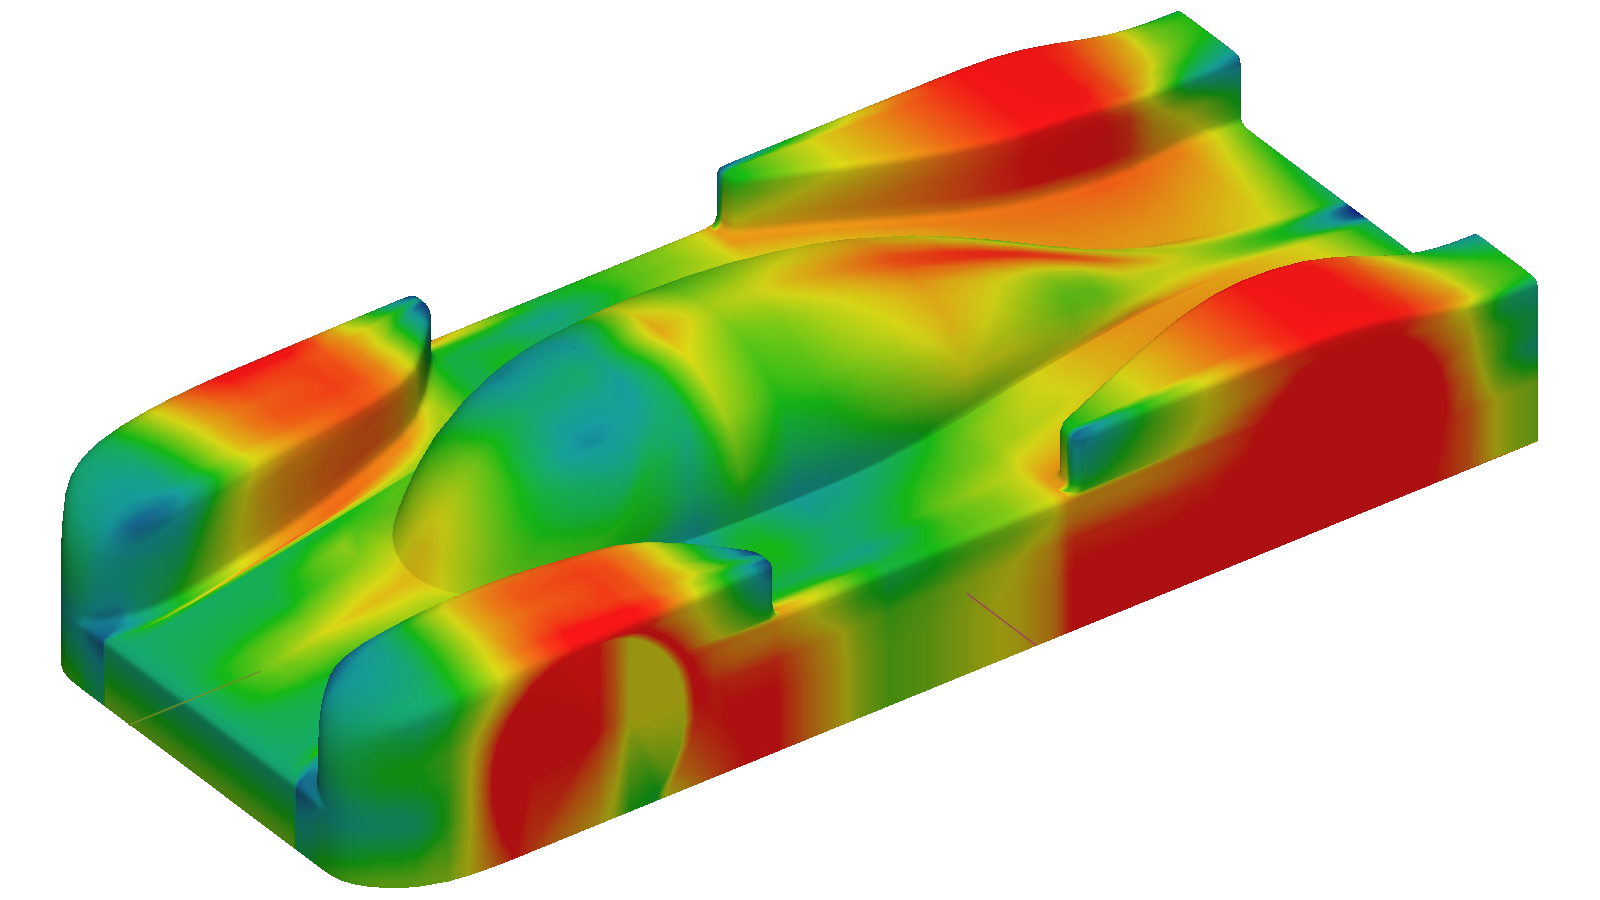
The little test that I conducted as per the image was the result of me needing to know just what sort of morph precision threshold I was working with. In contrast to the subtle curves present on all but the boxiest of 80s cars, this body had plenty of flat surfaces that needed to remain perfectly straight when morphed, so avoiding kinks in the surface that could affect surface contours or fixtures placed on top was crucial. An excessive amount of overlapping morphs compounds the aforementioned loss in precision, so ultimately, a number of morph targets were used in areas like the cockpit and especially the nose.
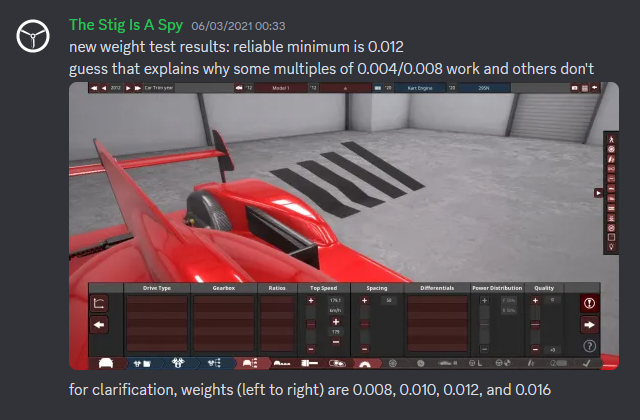
Finding out just how low I can go with stepped vertex weights; the conforming roof scoop fixture is included with the mod and blends almost seamlessly into the vertical stabilizer
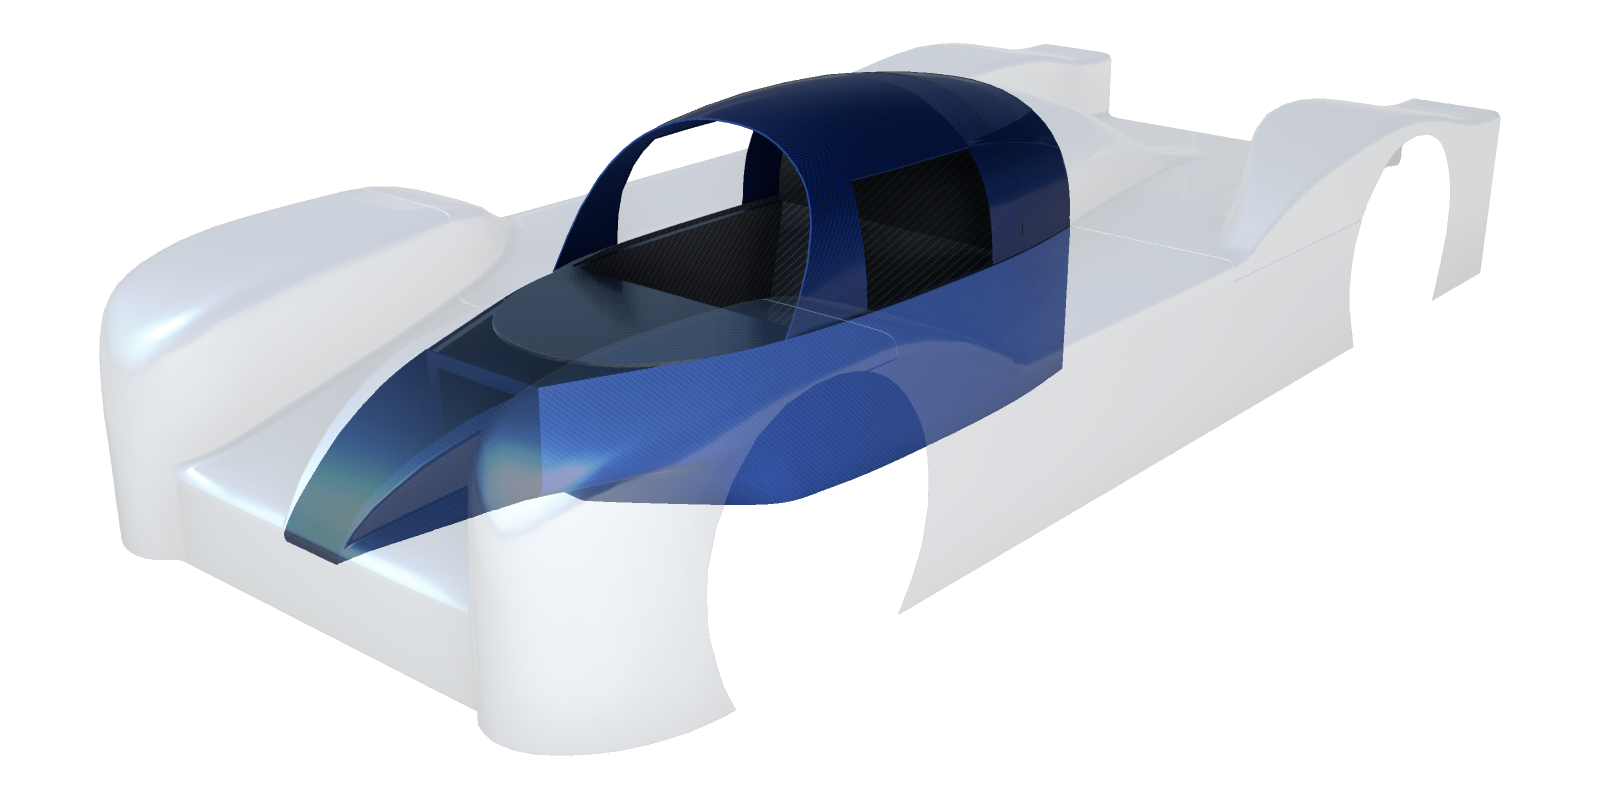
The central component of this passenger cell and nose assembly, shaded in light blue, is a single fixture (Automation)
Fixtures
Alongside the body family itself (comprised of the standard mid-engine variant, an alternate mid-engine variant with sleeker front fenders, a front-engine variant à la the Nissan GT-R LM NISMO, and three different size variants for each at the time of release), a variety of fixtures were included with the mod to simplify the onerous task of making a sports prototype in Automation.
Among these fixtures is a single-piece carbon tub that leverages the skeletal mesh-based headlight fixture system. Said system was originally conceived by the Automation devs to prevent headlight internals (bulbs, reflector bowls, and so on) from becoming warped. With the tub, which is placed "on" the roof of the car, the same basic principle is used in order for the bottom to maintain its shape while the top edge conforms to the shape of the central body.
The accompanying nose pieces, although designed to be placed on the front of the car instead of the roof, function in much the same way, with the innermost edge staying flat in order to align with the flat front of the tub fixture.
Sidepods
Additionally, the sidepods seen on the 'hero' build are a pair of dedicated fixtures. They were given a rounded top edge that should maintain its shape; having this edge conform to the body's own rounded top edge would compound things, resulting in the curve becoming stretched inward. Making these sidepods static and unable to conform (as per the game's "3D fixture placement" mechanic) would have been far simpler than a skeletal mesh approach, but I wanted the ability for them to be cut away by other fixtures (useful for advanced body shaping). To complicate things, vertices on skeletal fixtures need to be either fully weighted to a bone or not weighted at all, making my original weight gradient idea a no-go.
My solution was to assign a bone to each segment of the rounded top edge, preserving its profile while allowing the sidepod to conform along its length. Lots of trial and error was involved, but I'd say it was all worth it in the end.
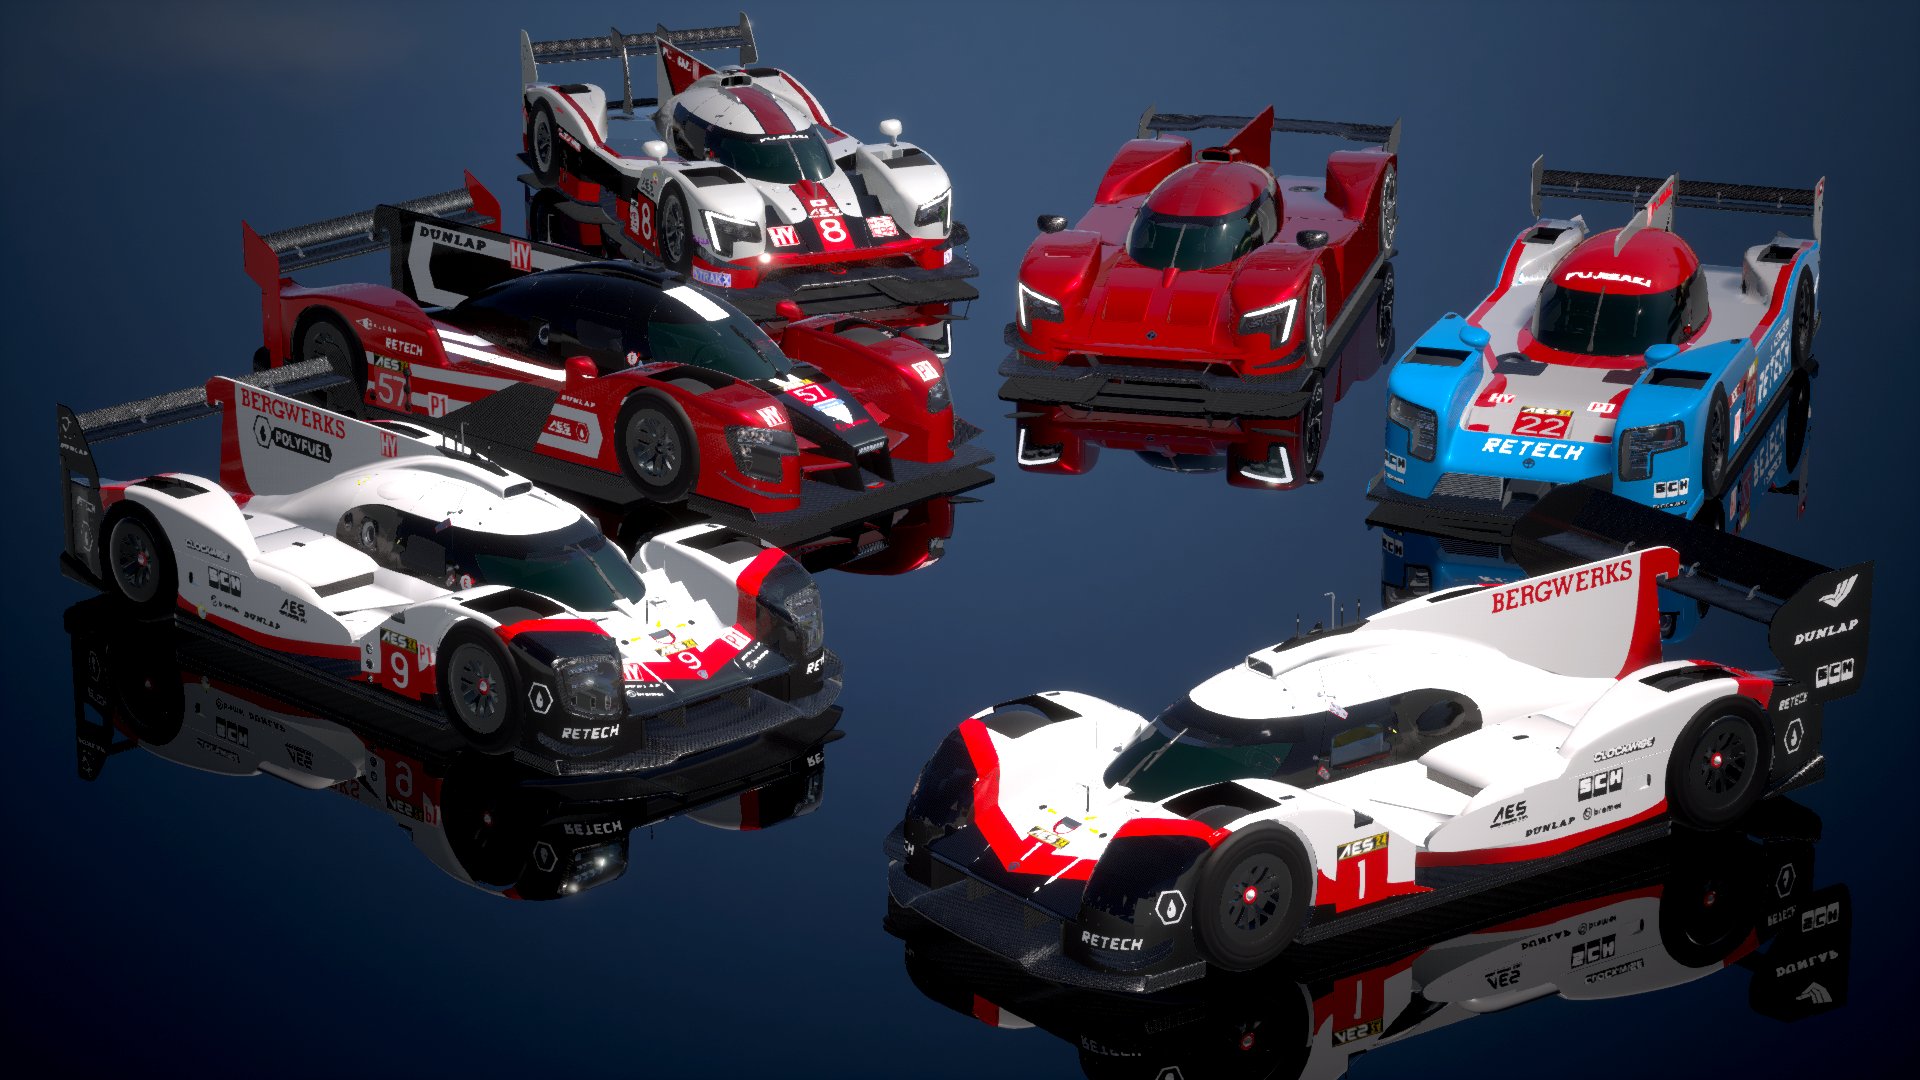
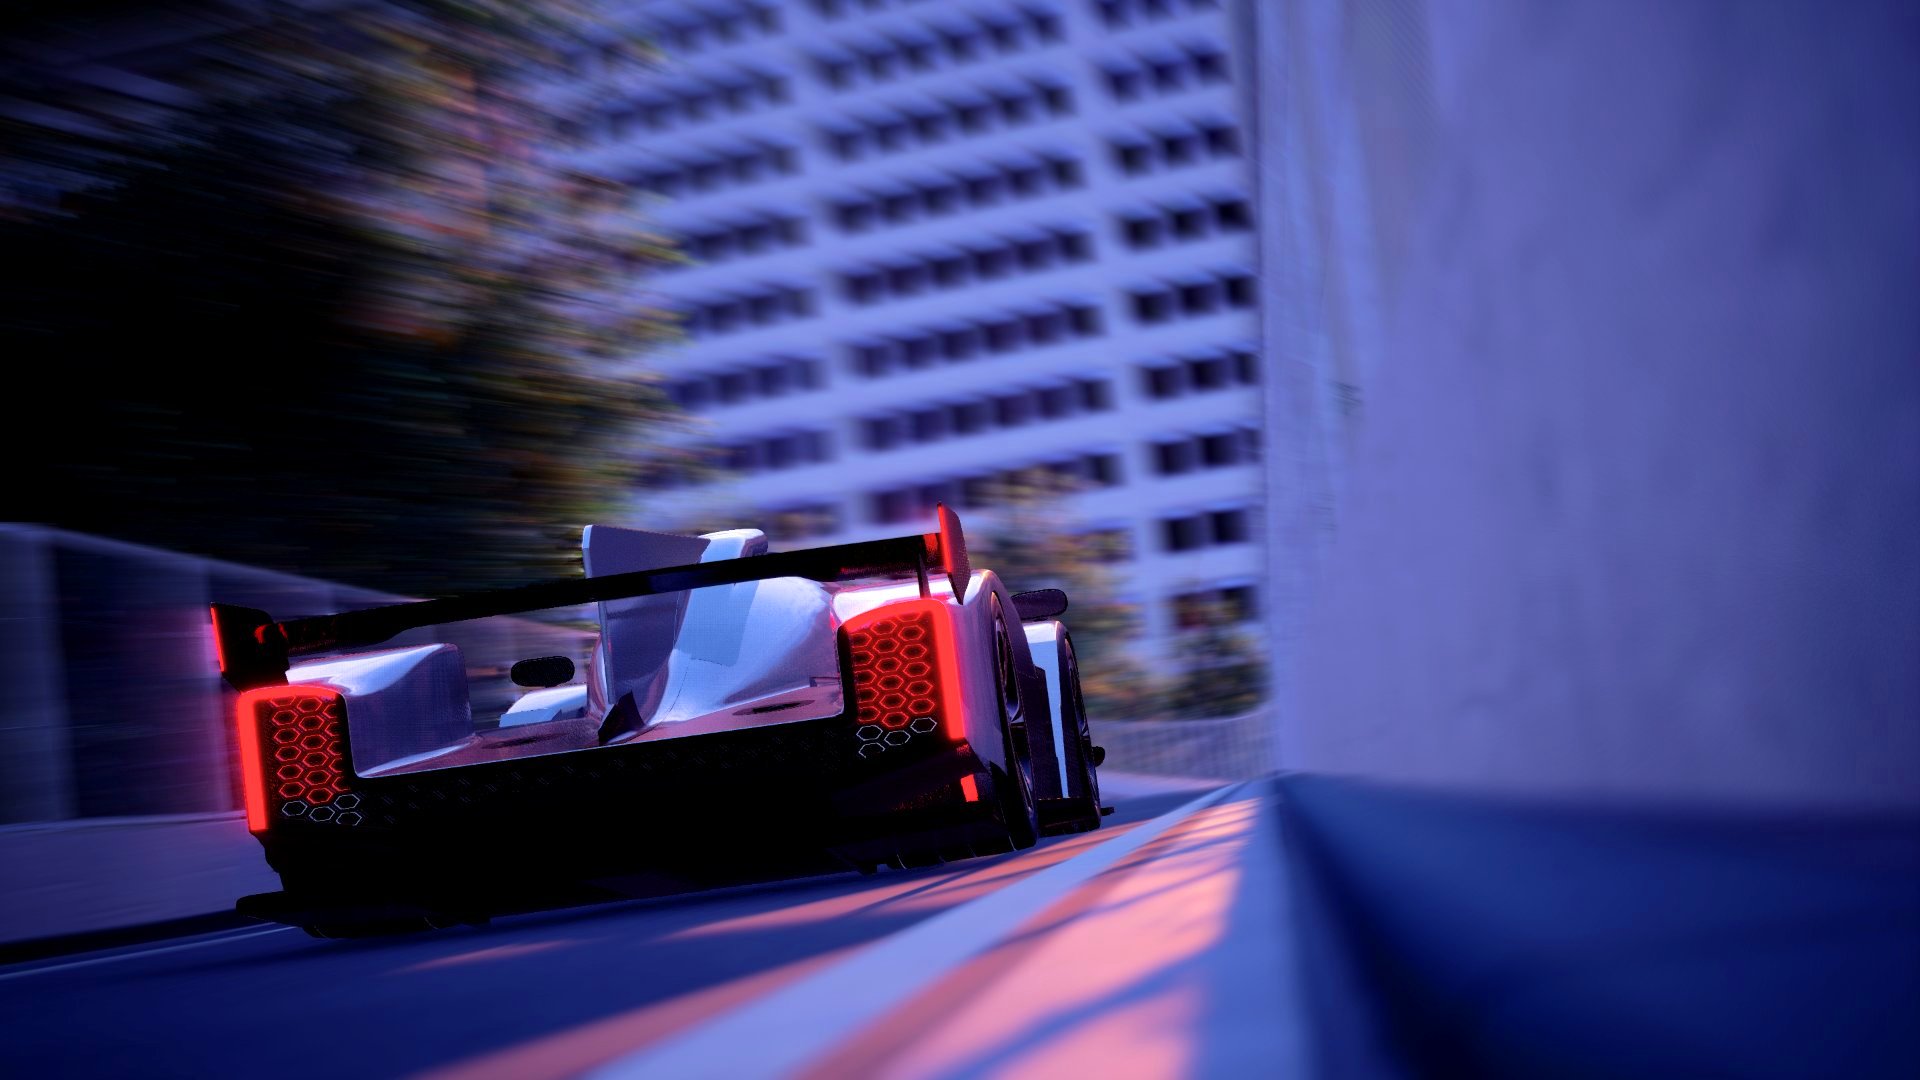
Gallery